Brisket Cook System: Trim, Smoke, Wrap, Hold, Slice
A repeatable brisket workflow from trim to slice, so the result comes from the process rather than from luck on the day.
A repeatable, science-backed brisket workflow so you manage fire, airflow, and the stall instead of gambling on time
You are not cooking meat. You are managing heat, air, and time.
A whole packer brisket is two different muscles sharing one fate. The flat is lean, the point is richer, and they are tied together with collagen-heavy connective tissue, which is why brisket needs long, steady cooking in the low and slow range for that collagen to melt into gelatin.1 2 If you just toss it on the pit and hope, you get pot roast or shoe leather.
What follows is the system I teach in classes and on the circuit. We will walk the same path every time: trim, fire, smoke, stall, wrap decision, finish, hold, slice. You tune details for your pit, but the spine of the cook stays the same.
“If your bark ain’t got snap, it’s just meat leather.”
Methods at a Glance: Trim–Smoke–Wrap–Hold Systems
You have a few main ways to run a brisket. All of them can work if you respect anatomy, airflow, and safe temps.1 5
Planning table (for 12–15 lb packer)
Time ranges below are planning numbers, not promises. Weather, pit design, and how cold that brisket starts will move the needle.
| Method | Typical pit temp | Wrap choice | Planning time per lb | Texture profile | Who it suits |
|---|---|---|---|---|---|
| Classic low and slow | 235–250°F | Unwrapped or butcher paper | 60–75 min/lb | Deep bark, pronounced smoke, longer stall, great rendering | Offset users who like all-day cooks |
| Paper-assisted Texas style | 250–265°F | Pink butcher paper after bark set | 45–60 min/lb | Strong bark with a little help through the stall, balanced moisture | Most backyard pits, Franklin-style cooks |
| Foil “Texas crutch” | 250–275°F | Heavy-duty foil at stall | 40–55 min/lb | Soft, moist slices, faster cook, bark softens more | Timeline-sensitive cooks and competitions |
| Overnight relaxed run | 235–245°F | Paper or foil late in cook | 60–80 min/lb | Gentle rendering, flexible serving window with long hold | Folks who want to sleep while the pit works |
The system in this guide lets you slide between those methods without losing control.
Essential Tips Before You Light the Fire
Know the cut and trim with purpose
- A packer brisket has the lean flat muscle and the fattier point joined by thick connective tissue. That collagen is why we cook past steak temps and spend hours between roughly the mid 160s and low 200s internal to get tender slices.12
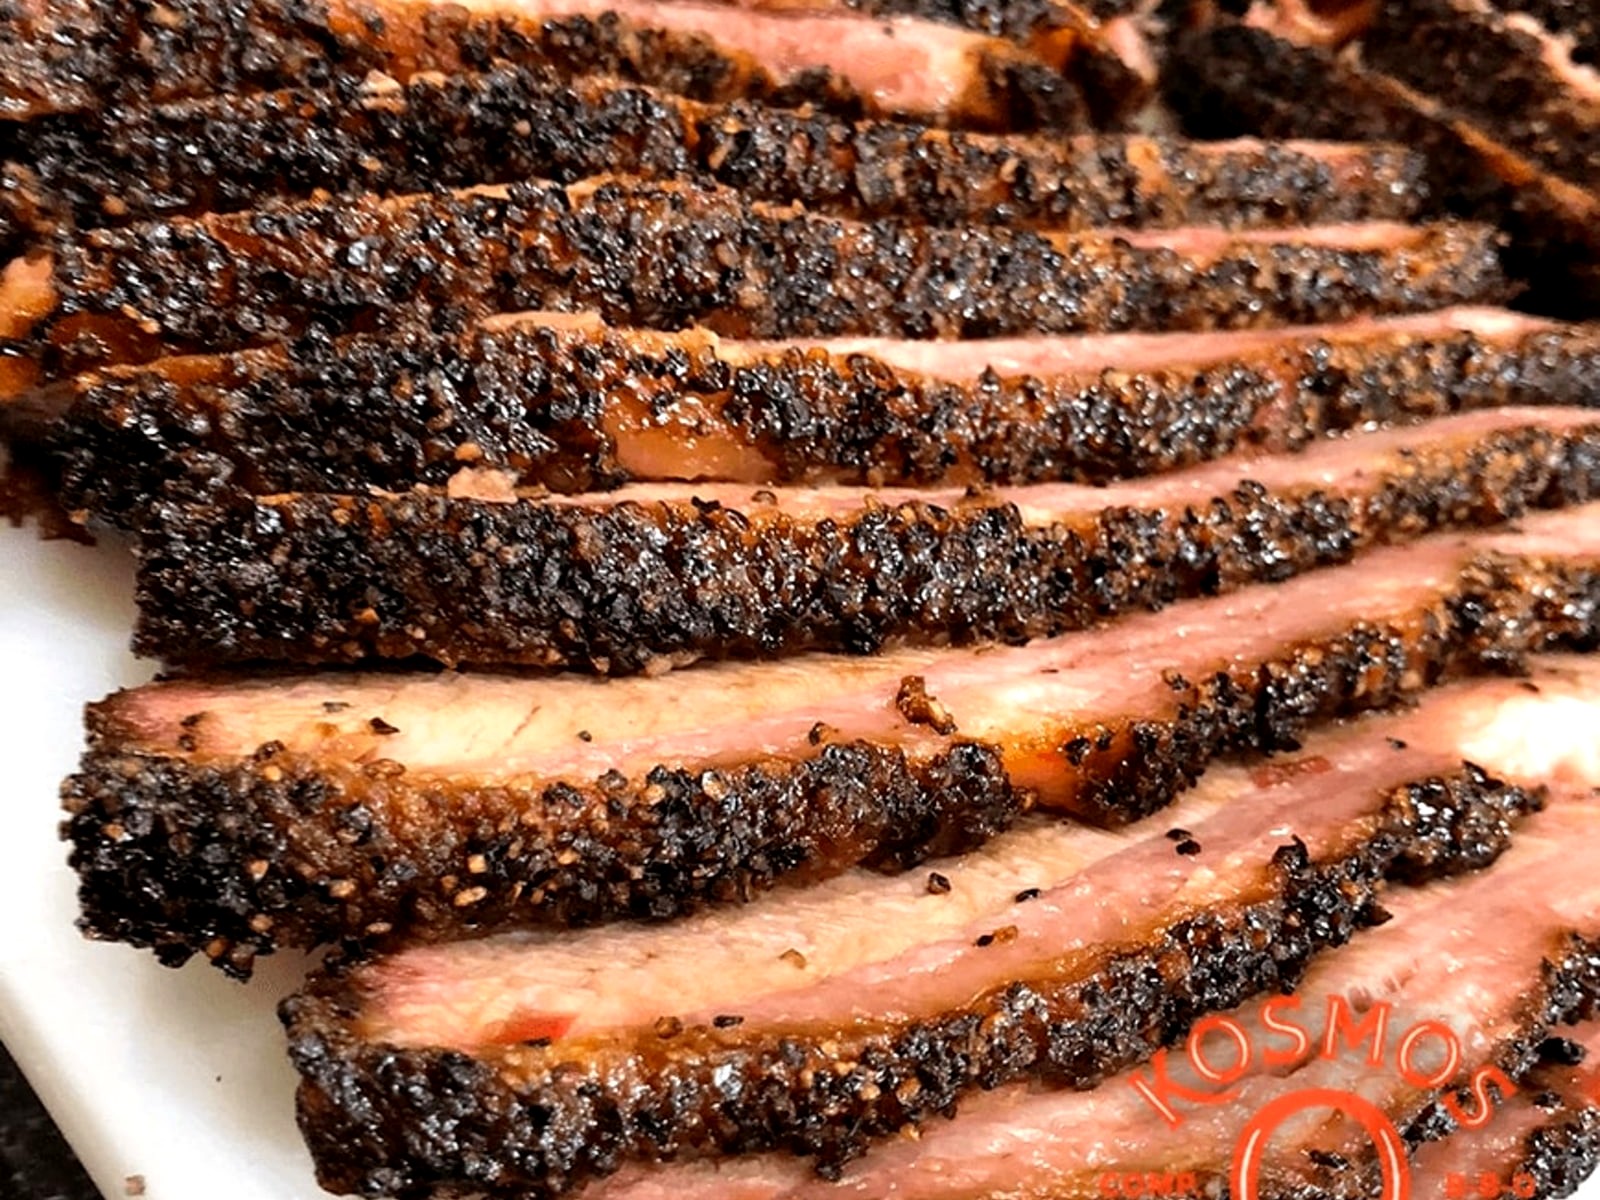
- Most Texas-style pitmasters trim the brisket cold, carve away the hard surface fat and deckle, square the thin edge of the flat, and leave about a 1/4 inch of fat cap to protect the meat while still letting fat render and bark form.23
- You do not win prizes for leaving extra fat on. You win when the flat eats juicy and the fat you left actually rendered.
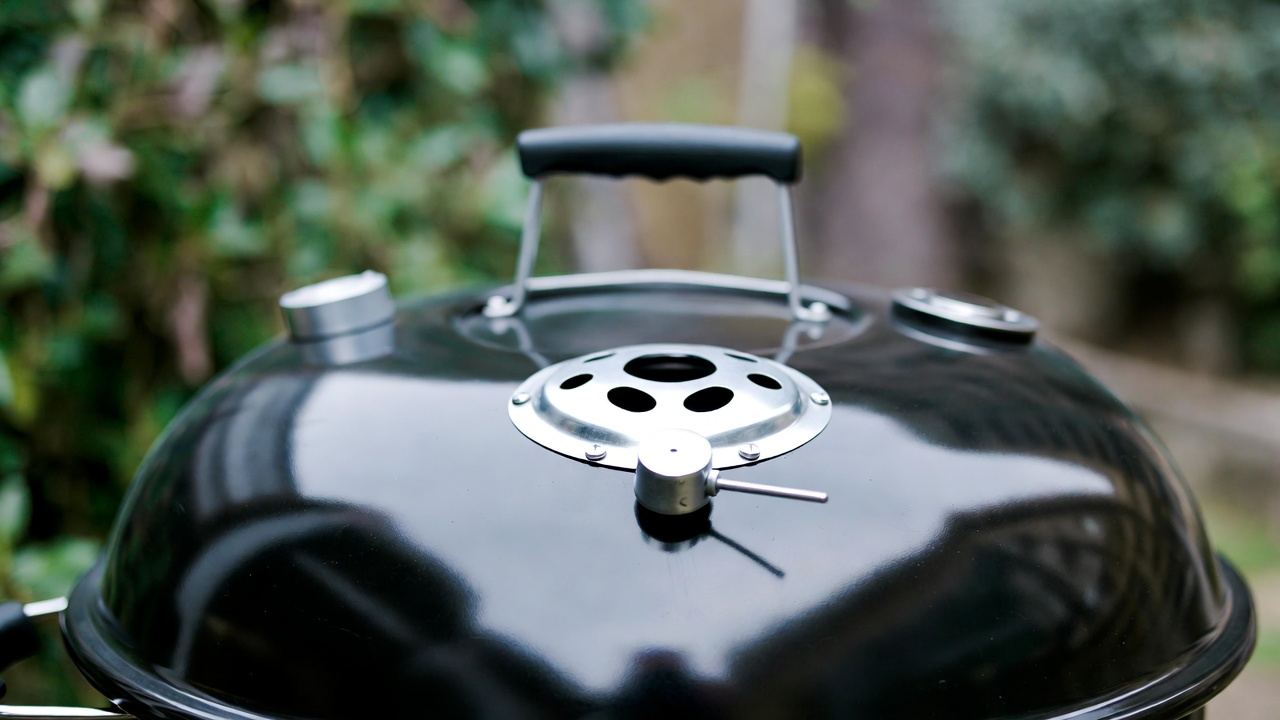
Fire and airflow first
On any pit, I care more about clean, steady combustion than chasing a perfect number on the dial.
- Aim to run your brisket cooks in the low and slow window around 225–275°F pit temperature, which gives collagen time to dissolve and fat to render slowly instead of boiling out.1
- Thin, almost invisible blue smoke and a steady draft tell you your fire is burning clean. White, billowy smoke means smoldering wood and bitter creosote.
- Give the pit at least 30–45 minutes to settle into its target range before you ever open the fridge.
Simple seasoning, serious flavor
- Classic Texas brisket leans on a simple mix of kosher salt and coarse black pepper after trimming, which is enough to build deep flavor and bark when paired with good smoke.23
- Even coverage matters more than secret ingredients. Patchy rub gives patchy bark.
The stall and your wrap decision
- Brisket often hits a “stall” in the mid 150s to upper 160s °F internal as surface moisture evaporates and cools the meat like sweat. That can last hours on a larger packer.1
- Wrapping in foil or butcher paper after your bark has set will shorten the stall and reduce moisture loss but also changes bark texture.4
- Foil traps steam and juices, speeds the cook, and softens bark more.
- Butcher paper breathes a little, which tends to keep bark firmer while still helping push through the stall.4
- Staying unwrapped gives the firmest bark and most smoke exposure but requires more time and tighter fire discipline.
Finish, hold, and slice like it matters
- Brisket is usually at its best when it feels probe tender in the thickest part of the flat, which often falls between about 195–205°F internal. Many pitmasters aim around 200–203°F while trusting feel more than any single number.1
- From a safety standpoint, USDA recommends whole beef roasts reach at least 145°F with a three minute rest, but barbecue brisket is taken well above that for texture, not safety, so you still have to hold it out of the 40–140°F “danger zone.”59
- A proper rest or hot hold in a preheated insulated cooler, sometimes called a faux cambro, can keep a wrapped brisket hot above about 140–145°F internal for several hours while juices redistribute and connective tissue continues to relax.67
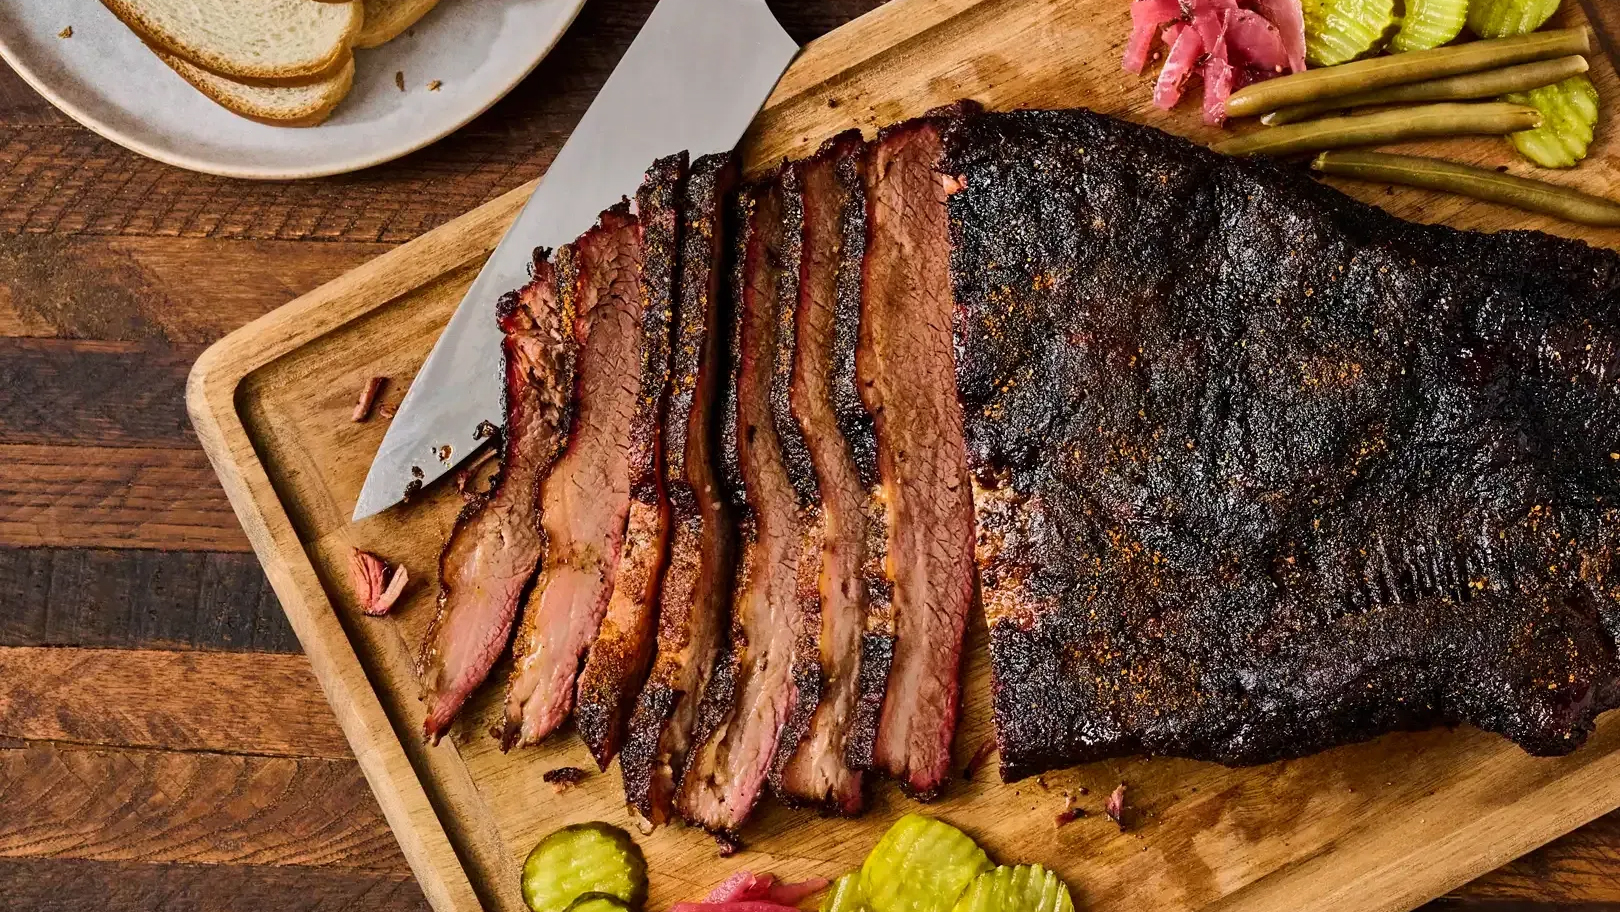
- Slicing across the grain of each muscle, usually about 1/4 inch thick, is critical to tenderness. You start across the grain on the flat, then reorient and cut the point across its different grain.8
“You don’t chase temp, you manage fire.”
Safety and Thermometer Basics
I am not casual about food safety. You should not be either.
- The USDA safe minimum internal temperature for whole beef roasts, including brisket, is 145°F with a three minute rest.5
- Smoked meat color can mislead you. USDA guidance notes that color is not a reliable indicator of safety and that a food thermometer is the only way to know if meat has reached a safe temperature.59
- For long cooks and hot holds, keep brisket out of the 40–140°F danger zone. That means chilling leftovers promptly and, when holding hot, using wrapping plus an insulated environment so internal temperature stays above roughly 140°F.56
Use a reliable digital probe with alarms. That is not a gadget. That is your connection to what is happening inside the meat.
Recipes: Two Complete Brisket Runs
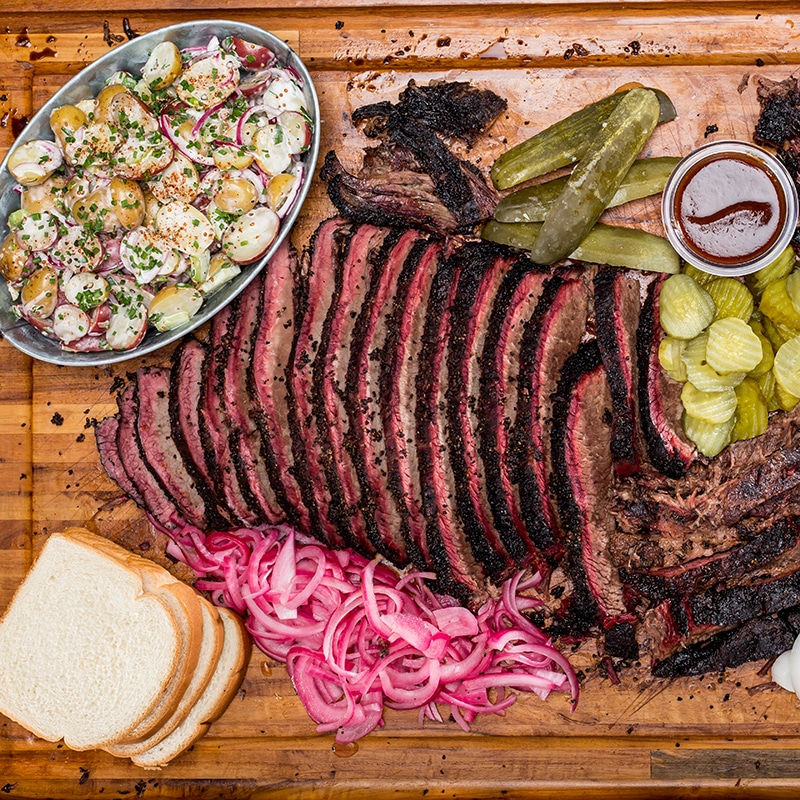
These are full workflows rather than just ingredient lists. Adjust for your pit, log what happens, and you will turn this into your own house system.
Recipe 1: Baseline Texas-Style Offset Brisket (Paper-Wrapped)
Style: Post oak, simple rub, paper wrap on an offset stick burner
Yield: Serves 12–16
Prep: 45–60 minutes (including trim)
Cook: 10–14 hours (for a 12–15 lb packer)
Total: 12–16 hours including rest
Ingredients
- 1 whole packer brisket, 12–15 lb
- 1/4 cup kosher salt
- 1/4 cup 16-mesh coarse black pepper
- Optional: 1–2 tbsp granulated garlic (for a little extra savor)
- Post oak splits or chunks (plus a little seasoned hardwood for coal bed)
- Unlined pink butcher paper
Steps
-
Trim (night before or early morning)
- Unwrap the brisket while it is still cold. Cold meat trims cleaner and safer.2
- On the fat-cap side, shave down to an even fat layer around 1/4 inch. Remove any hard, waxy knots that will never render.2
- On the meat side, remove surface silverskin and thin, loose edges of the flat that would burn or overcook.
- Shape the brisket so air can flow smoothly over it. Round off sharp corners and excess flaps.
-
Season
- Mix salt and pepper, plus optional garlic, in a shaker.
- Lightly moisten the surface with water or a thin smear of neutral oil so rub sticks.
- Season all sides evenly. You are painting the surface, not building a crust of salt.23
- Let the brisket sit on a rack in the fridge at least 2 hours, up to overnight. This functions like a dry brine and helps the rub bond.
-
Fire setup
- Light a small, clean-burning fire in your offset firebox and build a coal bed.
- Bring the pit into the 240–260°F range and let it stabilize with thin, steady blue smoke.1
- Set a water pan near the firebox side if your pit tends to run dry. Do not chase humidity, just prevent desert conditions.
-
Start the cook
- Place the brisket on the grate fat cap up or down depending on your pit’s heat source. On most offsets, fat cap up and point toward the firebox protects the flat.
- Insert a probe into the thickest part of the flat, avoiding big seams of fat.
- Close the door and settle into your pit rhythm. Add small, clean splits as needed to hold your target range.
-
Early smoke phase (bark building)
- Ride the pit in that 240–260°F window. Avoid big swings.
- After the first 3 hours, you can lightly spritz dry spots with water or very diluted apple cider vinegar if your bark edges look dusty, not set.
- Watch color and surface feel more than time. You want a deep mahogany bark that does not smear when you rub it.
-
The stall and wrap decision
- As the brisket approaches the mid 150s to upper 160s °F internal, expect the temperature climb to slow or plateau. That is the stall.1
- When bark is the color you like and feels firm, lay out two long sheets of pink butcher paper.
- Pull the brisket briefly, double wrap it in the paper with the flat supported, and return it to the pit. Keep the probe in the same spot.4
-
Finish to probe tender
- Maintain pit temp in the same range. The wrap will shorten the stall and speed the approach to final temperature.4
- Start checking for tenderness around 195°F internal in the flat. Use your probe like a skewer, testing several spots. You are looking for “warm butter” resistance.1
- Most briskets will finish somewhere between 195–205°F internal. When the thickest part of the flat feels right, you are done, even if the number is not what you expected.1
-
Rest and hold
- Let the wrapped brisket vent on the counter 15–20 minutes so the exterior heat comes down slightly.
- For a short rest, keep it wrapped and place in a dry pan or tray at room temperature for at least 1 hour before slicing.
- For a longer hold, preheat an insulated cooler with hot water, dry it, then line it with towels. Place the wrapped brisket inside and close. A well set up faux cambro can keep internal temp safely above about 140–145°F for several hours, improving juiciness.67
- Monitor internal temperature with a probe during an extended hold.
-
Slice and serve
- Unwrap and keep any rendered juices for serving.
- Identify the grain in the flat. Slice pencil-width, about 1/4 inch, straight across that grain from the flat end toward the point.8
- When you reach the point where the grain changes, either rotate that end about 90 degrees and keep slicing, or separate the point and flat and slice each across its own grain.8
- Serve slices from the flat first and chunk or slice the point richer for burnt ends or sandwiches.
“If you don’t understand why the smoke ring forms, you’ll never control it.”
The ring is showmanship. Texture is what people remember.
Recipe 2: Overnight Brisket on a Ceramic or Pellet Cooker
Style: Set-and-manage with digital control, paper or foil wrap, extended faux cambro hold
Yield: Serves 12–16
Prep: 45–60 minutes
Cook: 12–18 hours depending on pit and size
Total: 14–20 hours including rest and hold
This run is built for folks who want brisket ready for lunch without pulling an all-nighter.
Ingredients
- 1 whole packer brisket, 12–15 lb
- 1/4 cup kosher salt
- 1/4 cup coarse black pepper
- Optional: 1 tbsp paprika for color
- Mild wood pellets or chunks, preferably post oak or a mix of oak and hickory
- Pink butcher paper or heavy-duty foil
Steps
-
Trim and season (evening before the cook)
- Trim exactly as in Recipe 1. Aim for that even 1/4 inch fat cap and a smooth, aerodynamic shape.2
- Season all surfaces with the salt, pepper, and optional paprika mix.
- Place on a rack over a tray in the fridge, uncovered, for at least 4 hours or overnight.
-
Set the cooker
- For a ceramic, set up for indirect cooking with a heat deflector and a drip pan. For a pellet cooker, clean the fire pot and ensure the hopper is full.
- Set the controller in the 235–245°F range. This slightly lower setting helps hedge against overshooting while you sleep.1
- Let the cooker preheat and stabilize at least 30 minutes.
-
Start the cook (late evening)
- Place the brisket on the grate, point toward the hotter side if your cooker has one.
- Insert one probe in the thickest part of the flat and another clipped at grate level near, but not touching, the meat.
- Close the lid. On a ceramic, set top and bottom vents so the pit cruises steady. On a pellet cooker, confirm the controller is holding its set point.
-
Overnight phase
- Let the pit run. Resist the urge to lift the lid every hour. That only drops pit temp and extends your night.
- If your controller has alarms, set a high pit temp alarm and a low one so you wake only if something drifts out of range.
-
Morning check and wrap
- By early morning, internal temp is often creeping through the 150s into the 160s. Expect some stall behavior here.1
- Evaluate bark. If it is deep and set, wrap in butcher paper for a firmer bark, or foil if you want to speed things up and do not mind a softer bark.4
- Return the wrapped brisket to the cooker. If you used foil, place it seam side up so juices stay put.
-
Final push to tender
-
Long hot hold for lunchtime service
- This method leans on the hot hold. When brisket is done mid-morning, let it vent on the counter for 15–20 minutes.
- Wrap in a dry towel and place in a preheated insulated cooler. A well managed faux cambro can keep brisket above the safe hot holding threshold of about 140–145°F for several hours.67
- Monitor internal temp with a probe and plan to slice once it naturally drifts toward the mid 150s to 160s.
-
Slice and serve
- Same slicing approach as Recipe 1. Slice only what you need immediately and keep the rest wrapped to retain moisture.8 If I am cooking for a crowd at noon, this is the system I trust. Done early is a blessing as long as you know how to hold.
Troubleshooting: When the Brisket Fights Back
Tough, chewy flat
- Likely cause
- Pulled too early before collagen had enough time in the higher internal range.
- Pit temp or internal temp readings were off.
- Fix next time
- Trust probe feel in the thickest part of the flat more than any single number in the 195–205°F window.1
- Calibrate your thermometers and confirm probe placement.
Dry flat with crumbly slices
- Likely cause
- Trimming too aggressively and overexposing the lean flat.
- Staying unwrapped too long in a very dry pit.
- Fix next time
Mushy or pot-roast-like texture
- Likely cause
- Overcooking well past the tender point, often in a very wet foil environment.
- Fix next time
Bitter, sooty bark
- Likely cause
- Dirty smoke from smoldering wood and poor airflow.
- Overloading the firebox or choking vents.
- Fix next time
- Run a smaller, livelier fire with more oxygen. Aim for thin blue smoke, not thick white clouds.1
- Use dry, seasoned wood and preheat splits on the firebox before they go on.
Blowout ends and thin-tip jerky
- Likely cause
- Very thin flat end left on during trim.
- Point or thin end pointed straight at hottest part of pit with no protection.
- Fix next time
- Square off the thinnest flat tip during trimming. Use those pieces for sausage or grind.2
- Rotate the brisket during the cook so the flat is not constantly hammered with your hottest spot.
Slices fall apart when cutting
- Likely cause
- Slicing with the grain in sections.
- Knife too dull, or slices too thin for how the flat is cooked.
- Fix next time
“You’re not cooking meat—you’re managing heat, air, and time.” Write down what your pit did so you can manage it better next time.
FAQs: Brisket System Questions Answered
How big a brisket should I buy for this system?
I like 12–15 lb packer briskets for most backyard pits. Big enough to behave like a real packer, small enough that you are not cooking into the next day.
Do I have to trim to a 1/4 inch fat cap?
Most Texas-style methods target about a 1/4 inch fat cap after removing hard surface fat and deckle because it balances protection with the ability to render and still build bark.2 3 A much thicker cap tends to stay waxy and can block seasoning and smoke.
What pit temperature should I run?
Most successful Texas-style smoked brisket cooks run in a steady low and slow range around 225–275°F so collagen has time to dissolve and fat can render gradually.1 Within that, you choose the exact number that your pit can hold cleanly.
When should I wrap and what should I use?
Brisket usually stalls in the mid 150s to upper 160s °F internal as surface moisture evaporates and cools the meat.1 Once bark is the color and firmness you like, you can:
- Wrap in foil to shorten the stall the most and keep more moisture at the cost of a softer bark.4
- Wrap in butcher paper for a compromise that still breathes and preserves more bark while helping the cook along.4
- Stay unwrapped if you want maximum bark and do not mind a longer cook.
What internal temperature should I pull brisket at?
Brisket is usually finished when the thickest part of the flat is probe tender, which often occurs between about 195–205°F internal. Many pitmasters find their sweet spot in the 200–203°F range, but they confirm with feel, not just a number.1
How long can I safely hold a brisket in a faux cambro?
Home setups that preheat an insulated cooler and wrap the brisket well can often keep internal temps safely above about 140–145°F for 3–6 hours or more, depending on cooler quality and ambient conditions.6 7 Use a thermometer probe to ensure the internal temperature does not drift into the 40–140°F danger zone.5 6
Is the smoke ring a sign of good flavor?
USDA guidance notes that color alone is not a reliable indicator of doneness or safety in smoked meats.5 9 The smoke ring is chemistry and presentation. Flavor comes more from clean smoke, proper rendering, and seasoning.
External Resources & Further Study
If you want to go deeper into the science and measurement side of this system, these are the pieces I point students toward.
- Thermal Tips: Smoked Brisket – A detailed walkthrough of brisket thermodynamics, including pit strategies, stall behavior, finishing temps, and resting approaches. 1
- Brisket: Tracking Temperatures Wirelessly! – Real-world brisket temperature curves that show how long the meat spends in key ranges while collagen breaks down. 2
- Prepping a Brisket With Aaron Franklin – Practical trimming and seasoning notes, including the 1/4 inch fat cap target and shaping ideas. 2
- Smoking a Brisket – Aaron Franklin Style – A home adaptation of the Franklin method that aligns closely with the salt and pepper, post-oak system in this guide. 3
- Brisket Wrapping: Foil vs Butcher Paper vs Leaving Unwrapped – Clear explanation of how different wraps affect the stall, time, and bark texture so you can make smarter wrap decisions. 4
- Safe Minimum Internal Temperature Chart (USDA FSIS) – Authoritative safety minimums for beef and other meats. Tape this near your fridge. 5
- Faux Cambro: How to Hot Hold Brisket, Pork Butt, etc. at Home – Stepwise guide for building and using a cooler-based hot hold at home. 6
- Safe Hot-Holding in a Faux Cambro: Times, Temps, and Texture – Deeper get into hold durations, internal target ranges, and texture tradeoffs for long holds. 7
- How to Slice a Brisket – Good visuals and explanations for finding the grain and managing the flat-to-point transition. 8
- USDA Food Safety Tips for Grilling Pros and Beginners – Reinforces why you cannot judge doneness or safety by color alone and why thermometers matter. 9
Log your cooks, note what your pit did in wind, rain, and calm, and you will turn this system into muscle memory. That is how you go from hoping for good brisket to expecting it.
Sources
- Thermal Tips: Smoked Brisket
- Brisket: Tracking Temperatures Wirelessly!
- Prepping a Brisket With Aaron Franklin
- Smoking a Brisket – Aaron Franklin Style
- Brisket Wrapping: Foil vs Butcher Paper vs Leaving Unwrapped
- Safe Minimum Internal Temperature Chart
- Faux Cambro: How to Hot Hold Brisket, Pork Butt, etc. at Home
- Safe Hot-Holding in a Faux Cambro: Times, Temps, and Texture
- How to Slice a Brisket
- USDA Provides Food Safety Tips for Grilling Pros and Beginners
Reader Favorites
- Easy BBQ Foods: Grill Like a Pro with These 10 Recipes
- Best Beef Breeds: Pick The Best For Smoking Now
- Smoke on a Gas Grill: BBQ Made Simple
- Trimming Beef Brisket: Learn What the Pros Know Now
- Grill Steaks Like a Pro: Master the Perfect Sear Now!
- Beef Cuts: Master BBQ Perfection with These Essential Tips Now
BBQ Temperature Charts & Guides
Four quick-reference tools every cook bookmarks — target temps, pull temps, and how long leftovers keep, plus the full BBQ glossary.
| Cut | Pull | Time |
|---|---|---|
| Brisket | 203°F | 12–16h |
| Spare ribs | 195–203°F | ~6h |
| Pork butt | 203°F | 12–14h |
Target temps & times for 17 cuts, sortable by meat, weight and doneness.
View full chart →| Doneness | Target |
|---|---|
| Rare | 125–130°F |
| Medium-rare | 130–135°F |
| Well-done | 160°F+ |
Rare to well-done, burger safety (160°F) and resting times.
View full chart →| Food | Fridge | Freezer |
|---|---|---|
| Brisket, ribs | 3–4 days | 2–3 mo |
| Smoked sausage | 1 week | 1–2 mo |
| Potato salad | 3–4 days | no freeze |
How long smoked meats & sides keep — fridge and freezer, USDA-based.
View full chart →Every pit term decoded — cooking methods, gear, cuts, wood, and technique, A to Z.
Open the glossary →